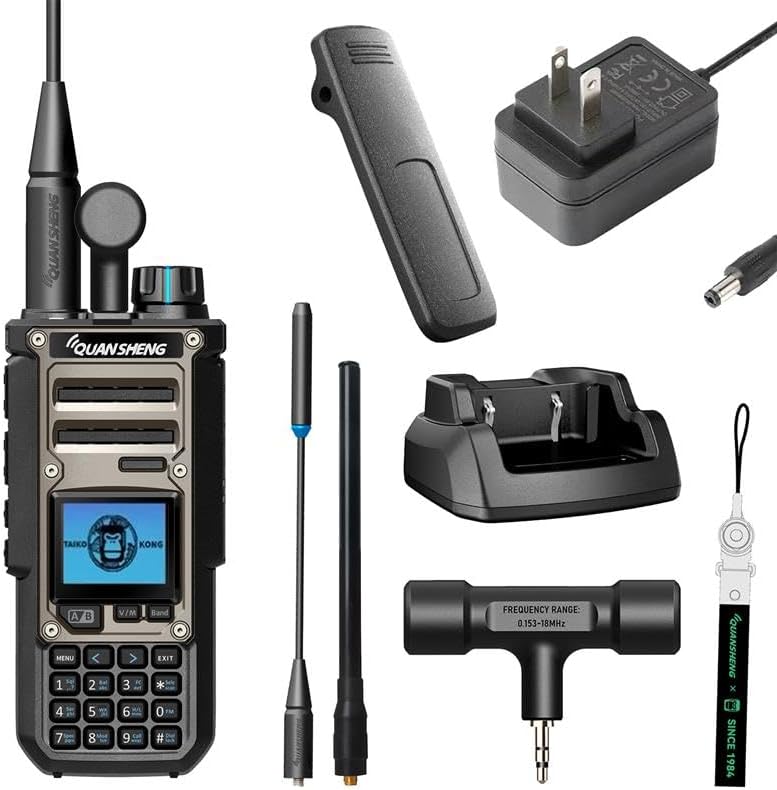
Dipole antennas are a staple for amateur radio operators, especially in the high-frequency (HF) bands. Simple in design and effective in performance, dipoles offer a great starting point for both novice and seasoned hams. This article explores the advantages, construction, installation, and tuning of dipole antennas for HF ham radio.
What is a Dipole Antenna?
A dipole antenna consists of two conductive elements, usually made of wire, which are oriented in a straight line. When fed at the center, each element is typically a quarter wavelength of the frequency being transmitted or received, making the total length approximately half a wavelength. Dipoles are resonant antennas, meaning they efficiently radiate and receive signals at specific frequencies.
Advantages of Dipole Antennas
Simplicity: The dipole's straightforward design allows even beginners to construct their own antennas with minimal tools and materials.
Versatility: Dipoles can be configured for various bands by adjusting the length of the elements. This flexibility makes them suitable for multi-band operation when using traps or antenna tuners.
Performance: A properly installed dipole can provide excellent gain and efficiency. Depending on the orientation (horizontal or vertical), they can effectively radiate signals in desired directions.
Low Cost: Dipole antennas can be built from inexpensive materials, such as wire and insulators, making them a budget-friendly option for ham operators.
Constructing a Dipole Antenna
Materials Needed:
- Copper or aluminum wire (14-18 gauge is typical)
- Center insulator (can be a plastic or ceramic insulator)
- End insulators (to attach the wire to the supports)
- Feedline (typically coaxial cable)
- Antenna tuner (optional, for multi-band operation)
Steps:
Determine the Length: The formula for calculating the length of each leg of the dipole is:
For example, for a frequency of 14.2 MHz, each leg would be approximately 16.5 feet long.
Cut the Wire: Cut two equal lengths of wire based on your calculations.
Attach Insulators: Securely attach the wire ends to the end insulators.
Connect the Feedline: Attach the coaxial cable to the center insulator. The inner conductor connects to one wire, and the outer shield connects to the other.
Mount the Antenna: Ideally, the dipole should be installed at least 1/2 wavelength above ground for optimal performance. Use trees, poles, or a dedicated antenna mast to support it.
Installation Tips
- Height: The higher the dipole, the better its performance, especially for DX (long-distance) communication.
- Orientation: A horizontal dipole is best for general communication, while a vertical configuration can provide good omnidirectional coverage.
- Clearance: Ensure there are no nearby metallic objects that could detune the antenna or cause interference.
Tuning the Dipole
Once the dipole is installed, it's essential to check its resonance using an antenna analyzer or SWR meter. Ideally, the Standing Wave Ratio (SWR) should be as close to 1:1 as possible for optimal performance.
Adjust Length: If the SWR is high, slightly adjust the length of the elements until you achieve the desired reading.
Use an Antenna Tuner: If operating on multiple bands, an antenna tuner can help match the impedance of the dipole to your transmitter, allowing you to operate efficiently across a broader frequency range.
Conclusion
Dipole antennas remain one of the most effective and accessible options for HF ham radio operators. Their simplicity, affordability, and versatility make them ideal for both new and experienced hams. With a bit of care in construction and installation, a dipole can provide excellent performance, enabling operators to make contacts around the world. Whether you’re setting up your first station or enhancing your existing setup, consider a dipole antenna as a reliable choice for your HF communications. Happy operating!

No comments:
Post a Comment